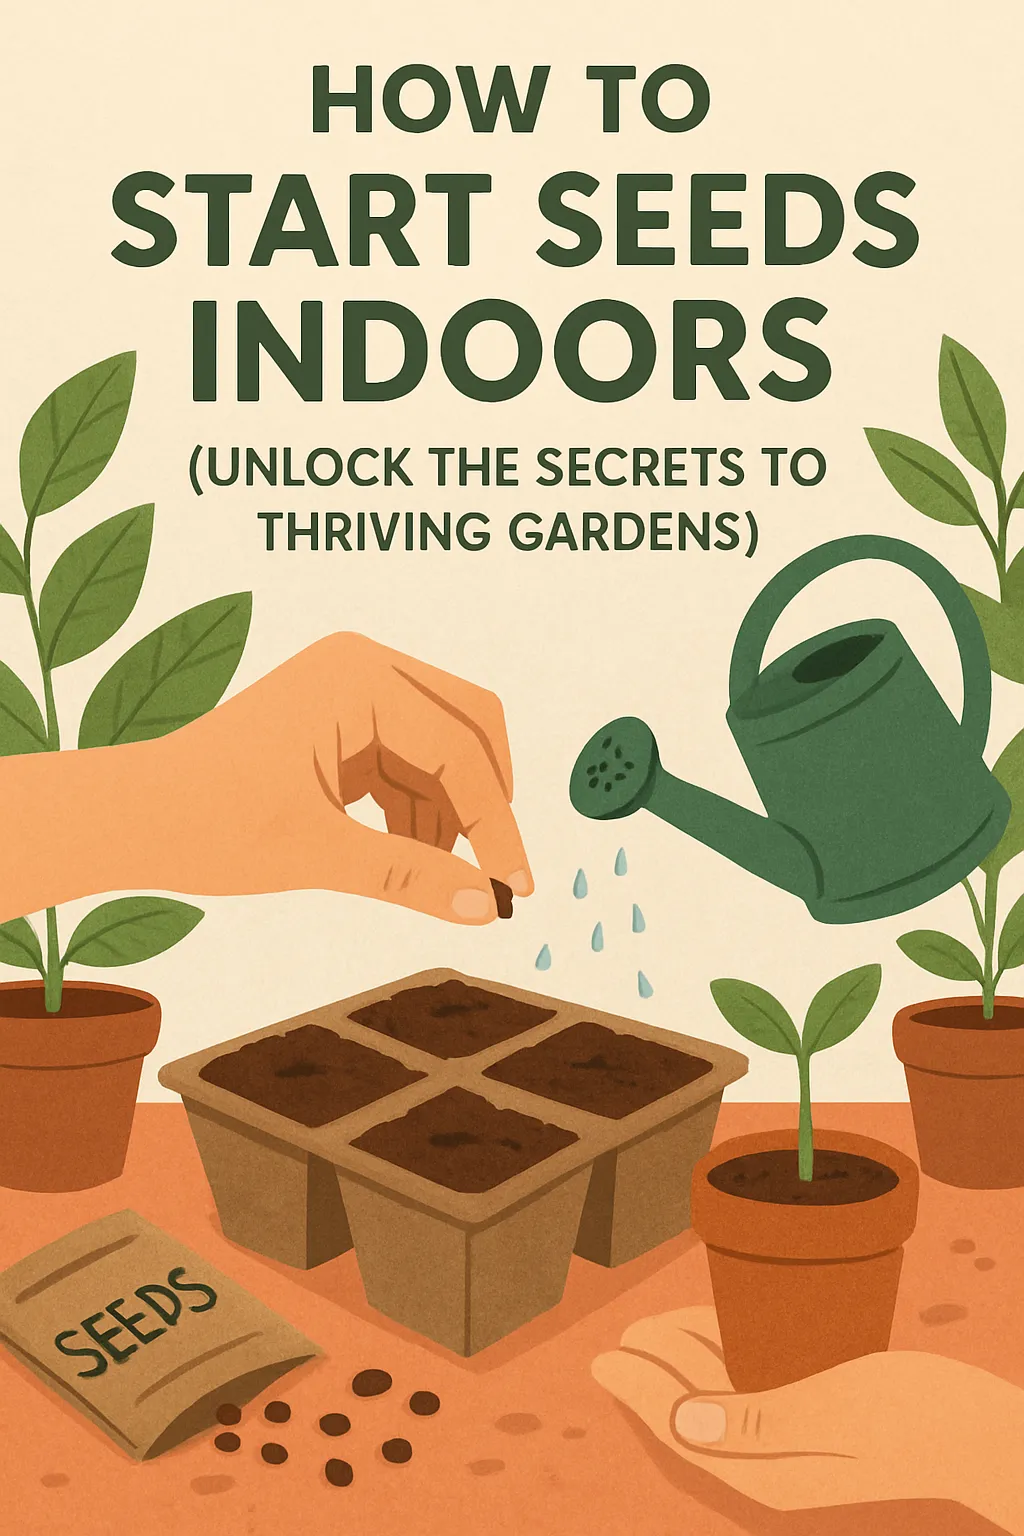
Are you ready to learn how to start seeds indoors successfully? This guide provides step-by-step instructions to help you grow healthy seedlings and enjoy a thriving garden.

Gardening is a rewarding way to grow vegetables, herbs, and flowers. Starting from seeds is budget-friendly and gives you more control over your plants. Knowing when, how, and where to start seeds indoors is essential. This guide walks you through every step to help you grow healthy, strong seedlings ready for outdoor planting.
When to Start Seeds Indoors
Each plant has the best time for indoor germination. Seed packets usually say, “Start 6 to 8 weeks before the last frost.” To plan properly:
- Find your last frost date. Use online resources or local gardening guides.
- Count backwards from that date. For example, if your last frost date is May 15 and seeds need 8 weeks indoors, start in early April.
- Consider the plant type. Tomatoes and peppers need early starts. Crops like cucumbers, zucchini, and sunflowers grow faster and can be sown directly outside.
Which Plants Need Indoor Starts?
Start indoors:
- Tomatoes
- Peppers
- Eggplants
- Broccoli
- Cauliflower
- Cabbage
- Many herbs like basil and oregano
Plant directly outdoors:
- Root vegetables (carrots, radishes, beets)
- Beans
- Corn
- Cucumbers and zucchini (can be started indoors but often do well outside)
Reading a Seed Packet: What to Look For
A seed packet provides key information:
- Planting Time: Whether to start indoors or sow directly outside.
- Days to Maturity: How long it takes until harvest.
- Light and Water Needs: Requirements for germination.
- Soil Needs: Usually a light, well-draining seed-starting mix.
- Germination Temperature: Ideal soil temperature, e.g., peppers at 70–80°F (21–27°C).
Preparing Your Materials
Essential Equipment
- Markers: To label seedlings clearly.
- Grow Lights: To provide sufficient light indoors.
- Heat Mat: Optional but helps maintain warmth for germination.
Necessary Materials
- High-quality seeds from trusted sources.
- Containers: Trays, pots, or egg cartons with drainage holes.
- Seed-Starting Mix: Sterile, loose, and well-draining soil.
- Labels: To identify different plant varieties.
- Plastic Covers or Bags: To keep moisture and warmth in.
Step-by-Step Process to Start Seeds Indoors
1. Prepare the Growing Medium
Moisten your seed-starting mix until it feels damp, like a squeezed sponge. Fill containers about two-thirds full. Gently tap to settle the soil. Do not pack it tightly, as roots need air.
2. Plant the Seeds
Follow the instructions on the seed packet for depth. If no instructions are provided, plant seeds at two to three times their size deep. Some seeds require light to germinate and should be barely covered. Others prefer darkness.
3. Label Your Seeds
Use markers or tape to label each variety. Add the planting date. Proper labeling helps avoid confusion later.
4. Maintain Temperature and Humidity
Cover trays with plastic to keep moisture in. Place containers in a warm spot between 65 and 75°F (18–24°C). Use a heat mat if necessary. Check moisture daily and keep the soil evenly moist.
5. Provide Light and Air Circulation
Remove covers once seedlings sprout. Place trays near a bright window or under grow lights. Keep lights 2 to 3 inches above seedlings. Adjust as the plants grow taller.
6. Watering and Feeding
Water from the bottom by placing trays in water. Let the soil absorb moisture. Fertilize about two weeks after true leaves appear. Use a diluted water-soluble fertilizer at quarter strength.
7. Hardening Off Before Moving Outdoors
Start hardening seedlings 7 to 10 days before transplanting outside. Take plants outdoors for a few hours each day, in a shaded area. Gradually increase sun exposure. Protect plants from extreme weather during this process.
Final Tips for Success
- Be patient. Strong seedlings take time to grow.
- Monitor regularly. Keep soil moist and lights adjusted.
- Transplant carefully. Handle roots gently when moving outside.
Growing healthy seedlings indoors can lead to a productive garden. Follow these steps for best results. With patience and care, you will enjoy lush blooms and abundant harvests.